Skip to content
Donate
Become a Member
About
Contact
Visit
Exhibits
Explore
Donate
Admissions
Visit
Exhibits
Explore
Shop
About
Become a Member
Donate
Contact
Explore
Gallery
Explore the Museum
Airframes
Exhibits
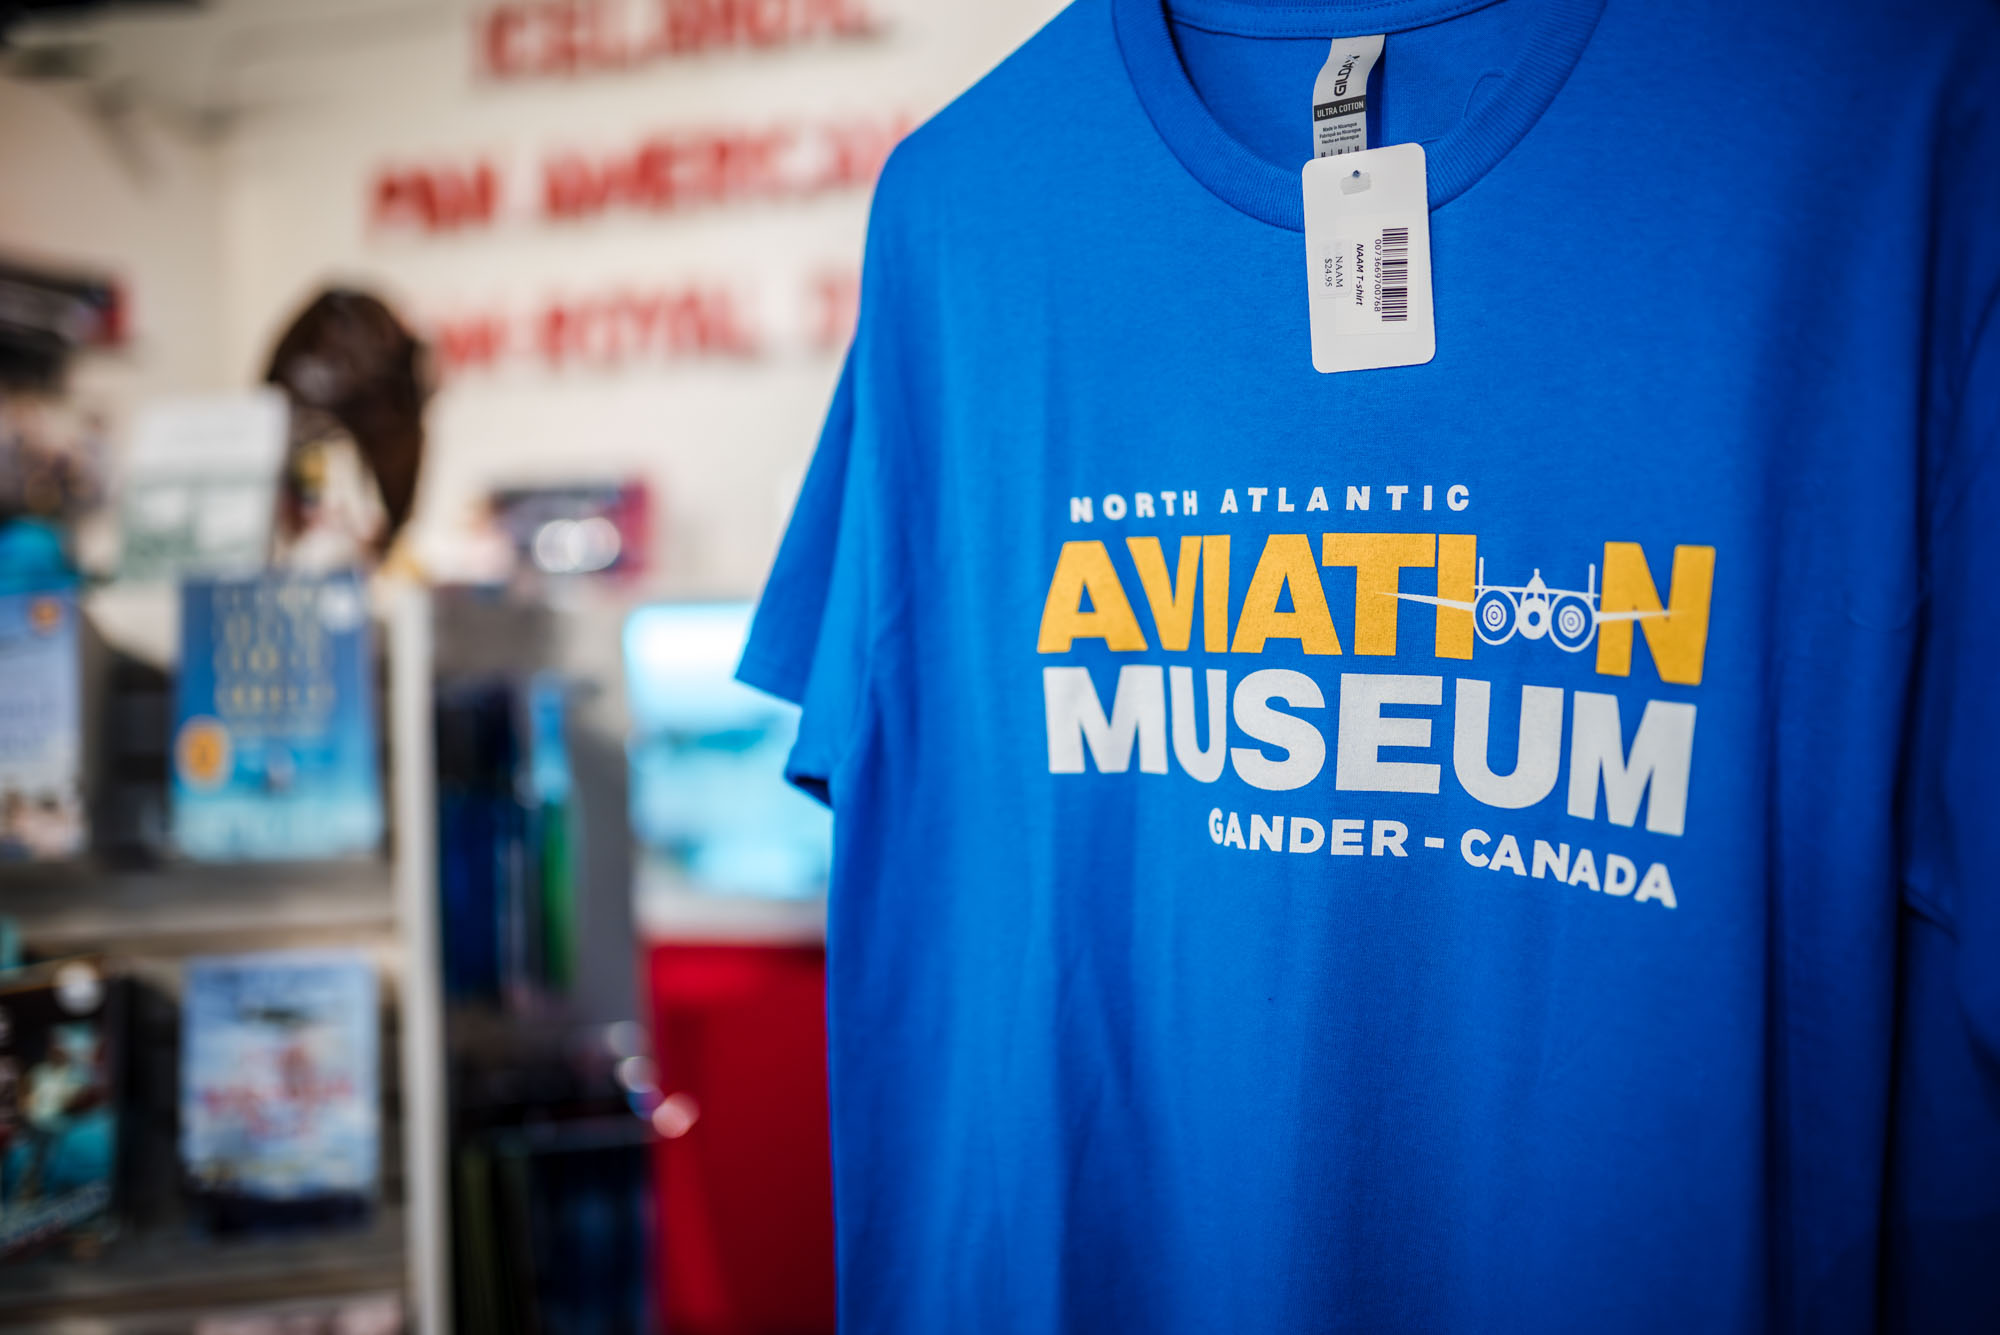
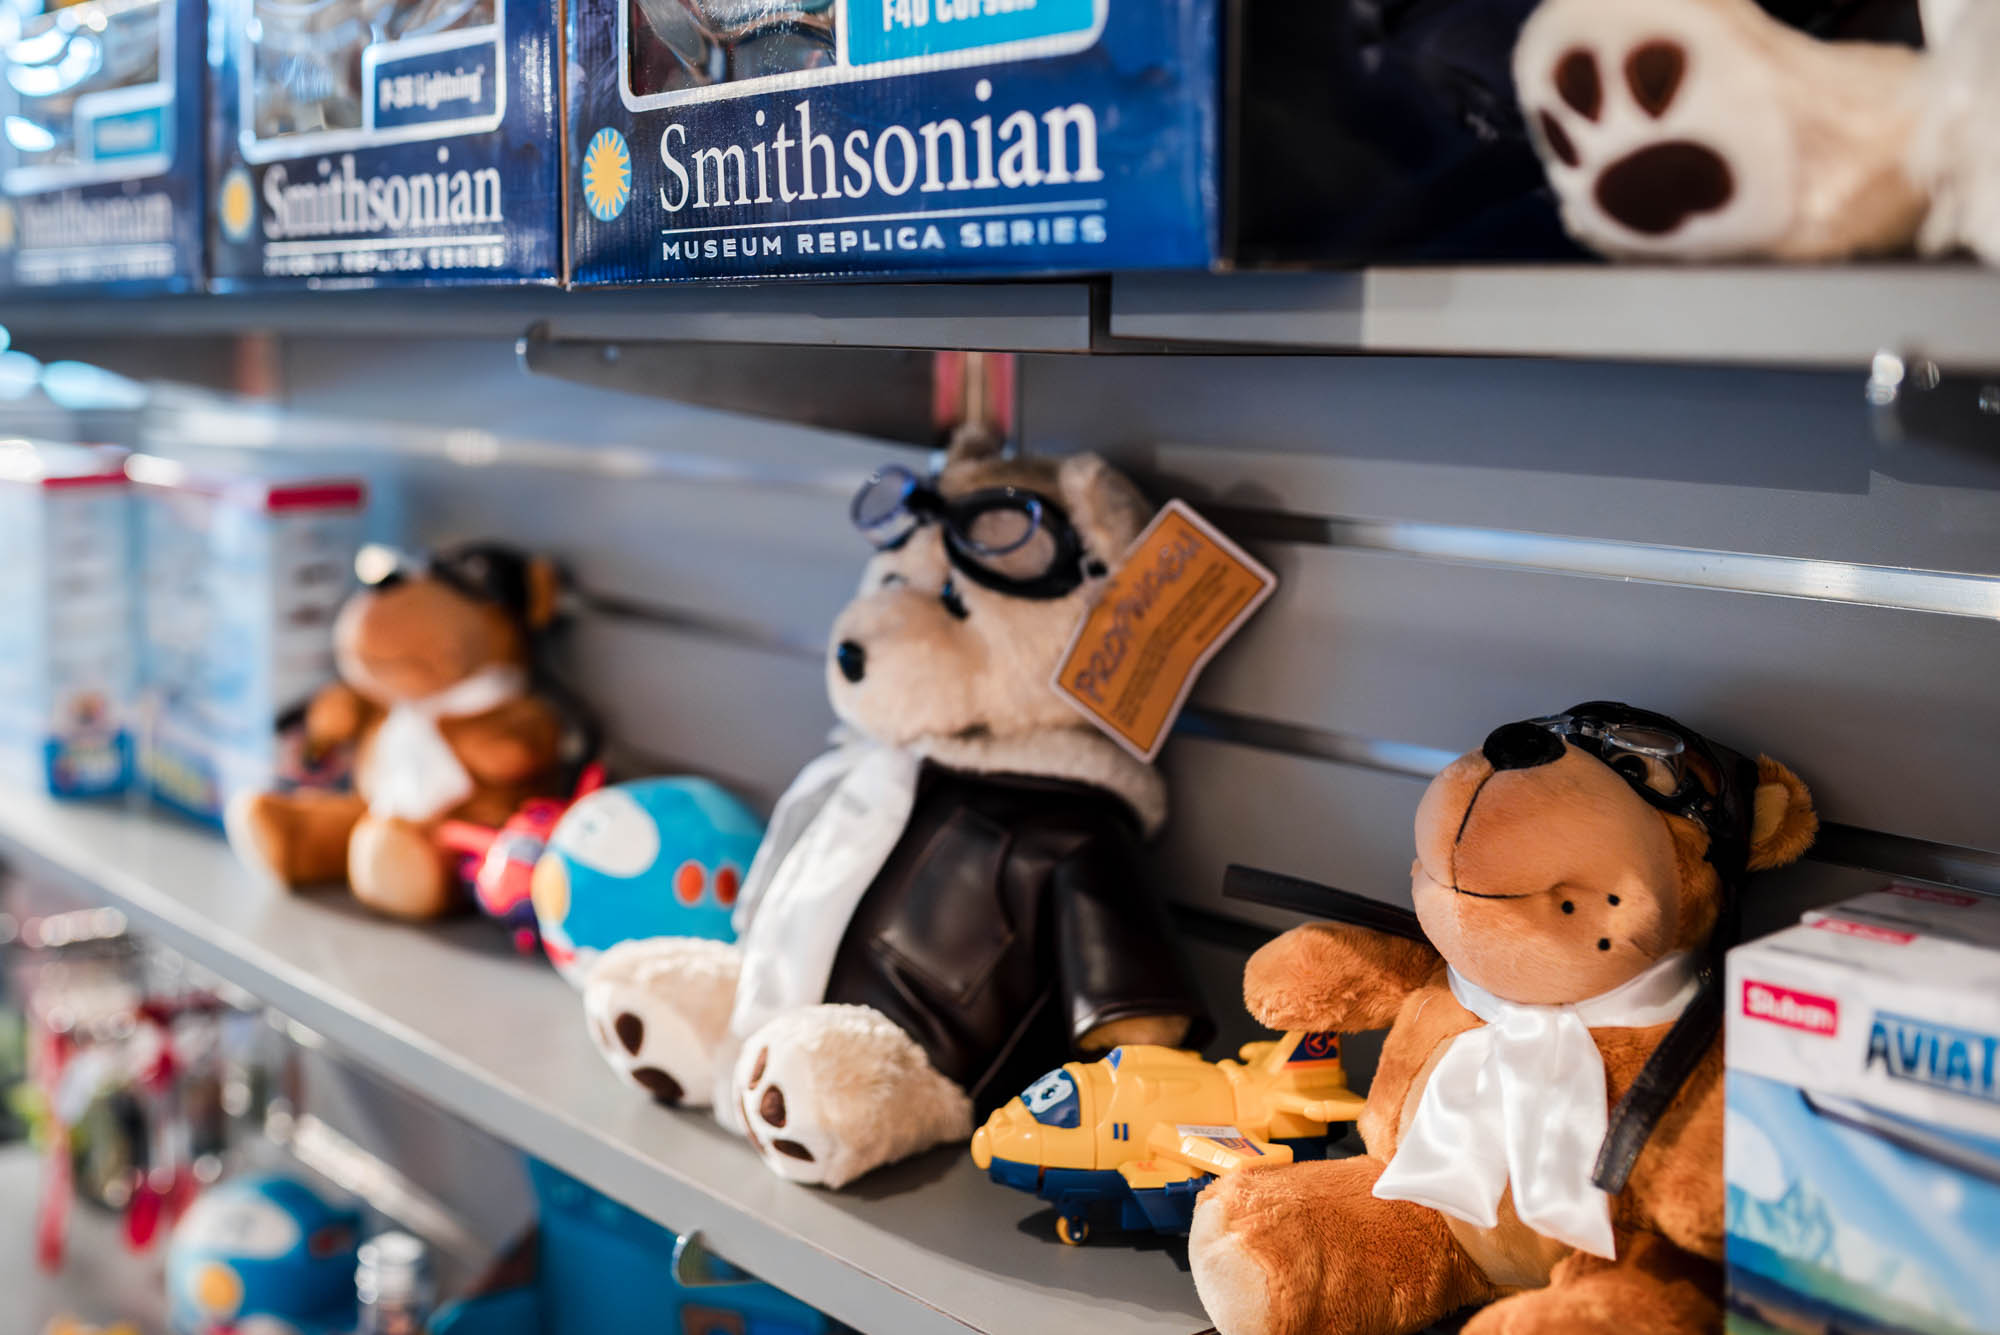
Gift Shop
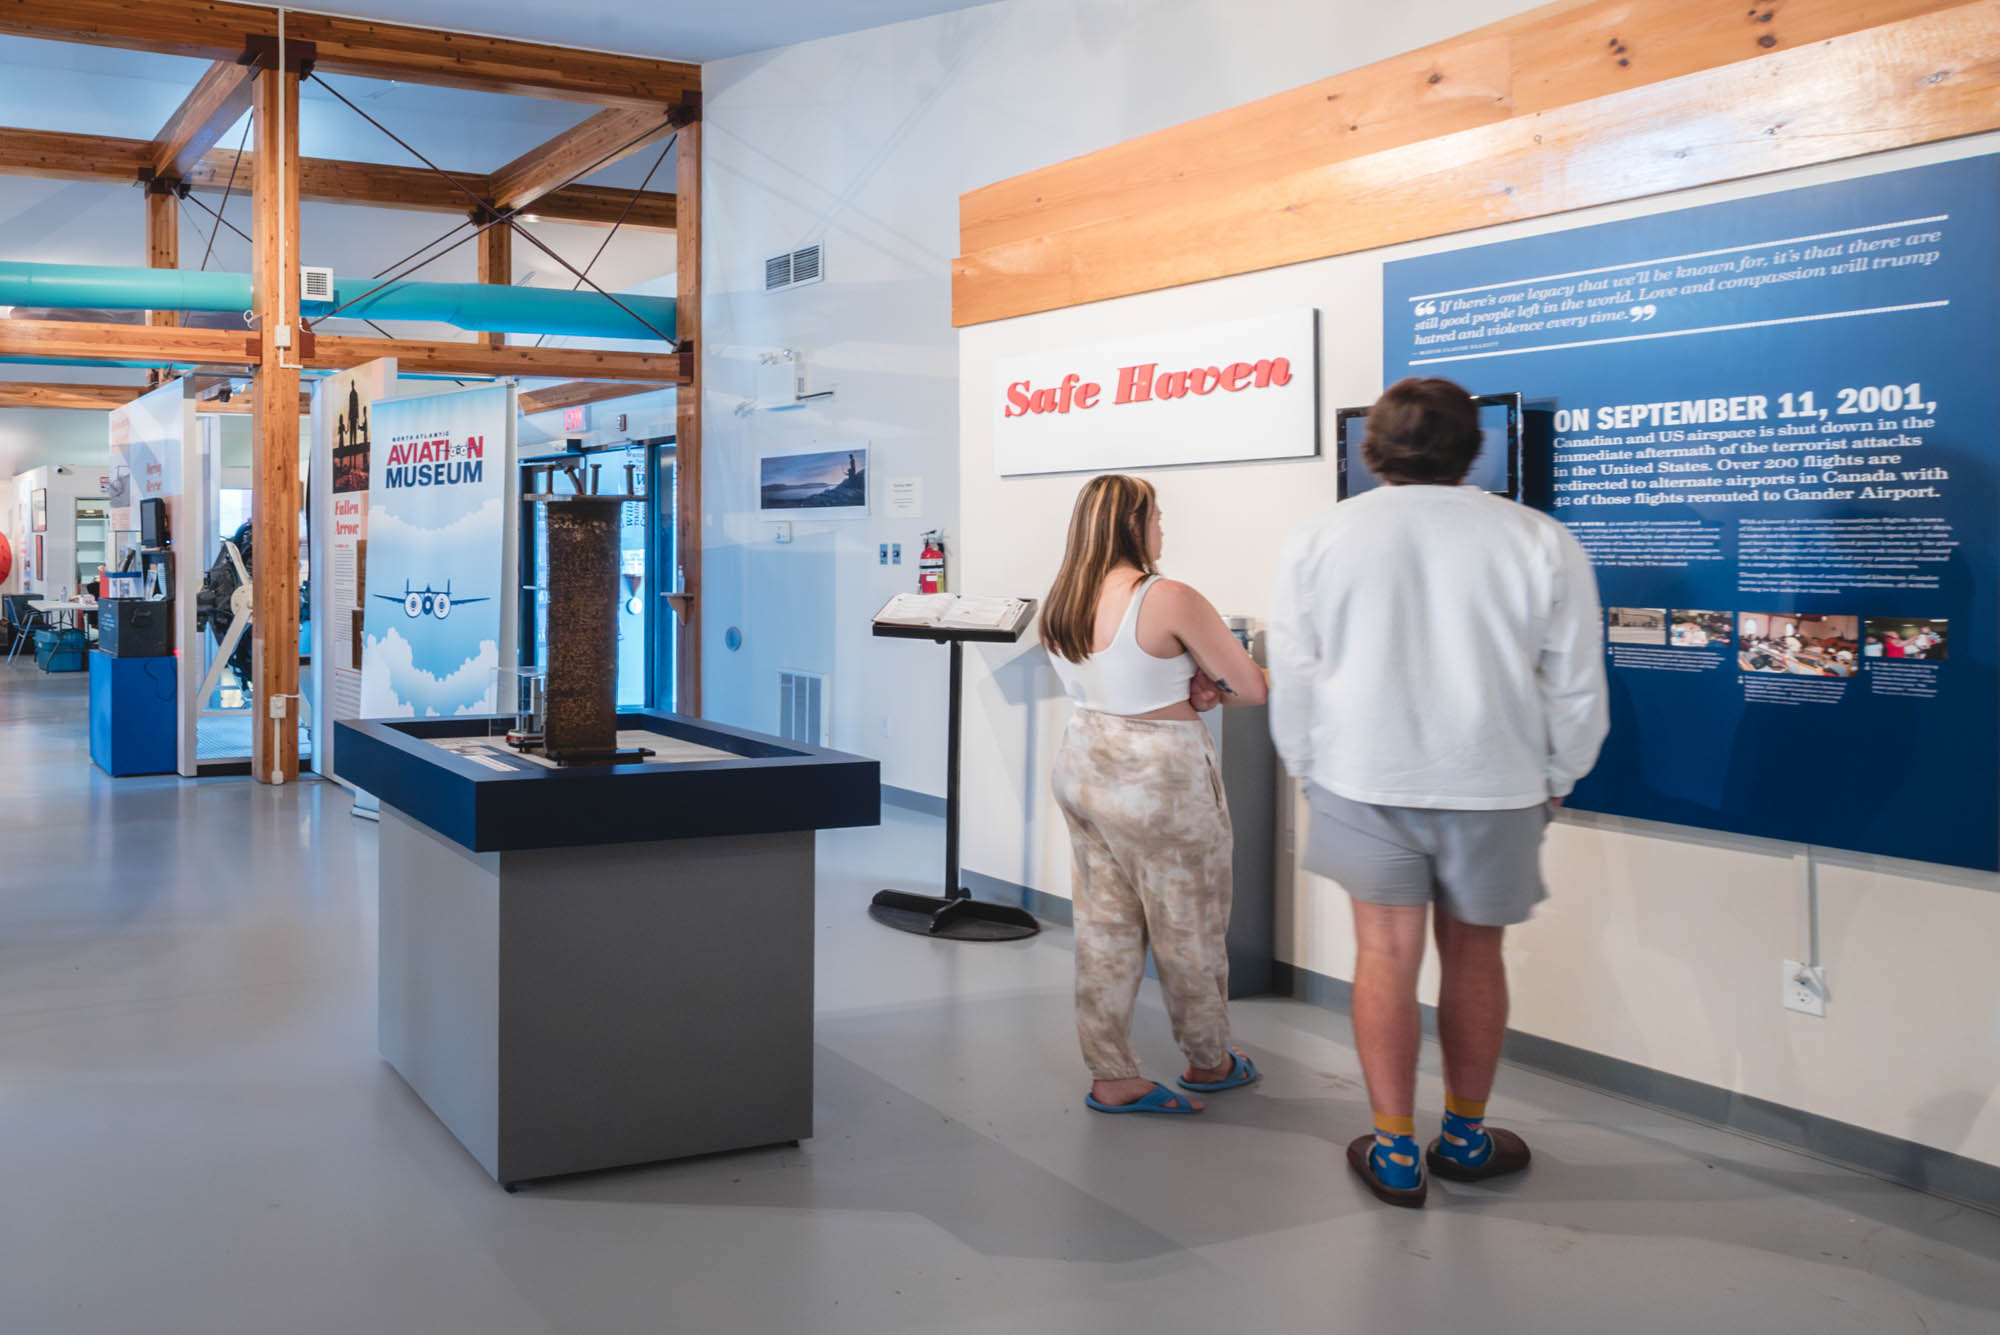
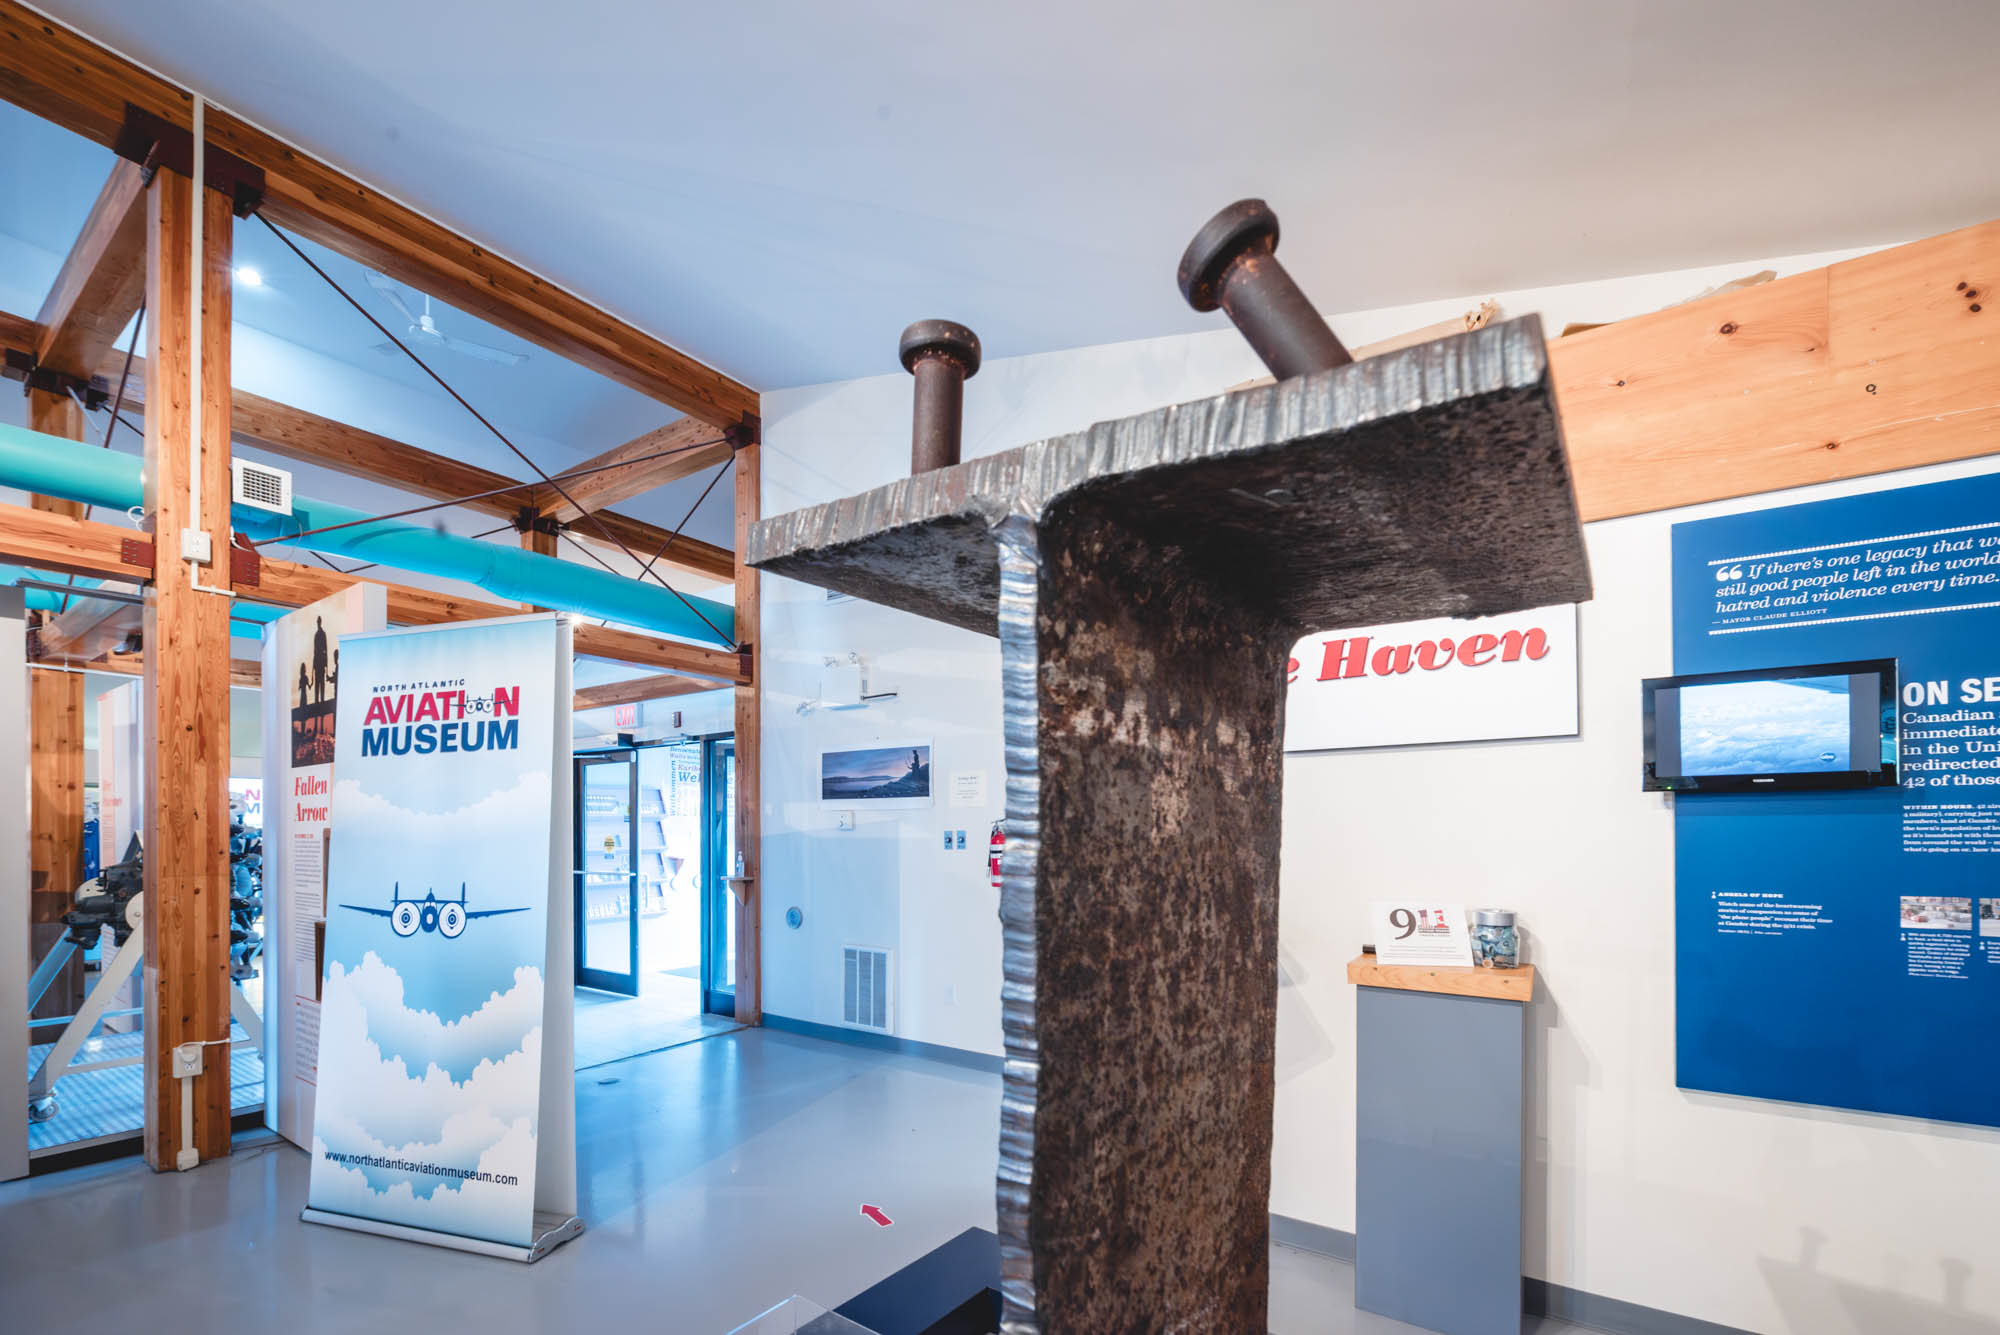
Safe Haven